
A Page can be used to provide a multi-zone layout for use with a Playlist (s) or as part of a multi-page Collection.
For example; you may wish to have a page that shows not only your information or advertising but with zoned areas showing news and social media. The page designer allows you to do this.
Creating a Page
1. Choose the Designer by clicking on the left-hand button, called "Designer"
2. At the top of the "Pages and Column Click on the "Add dropdown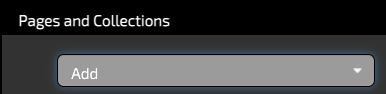
3. From the drop down choose "Create New Page"

4. You should now see the page setup box
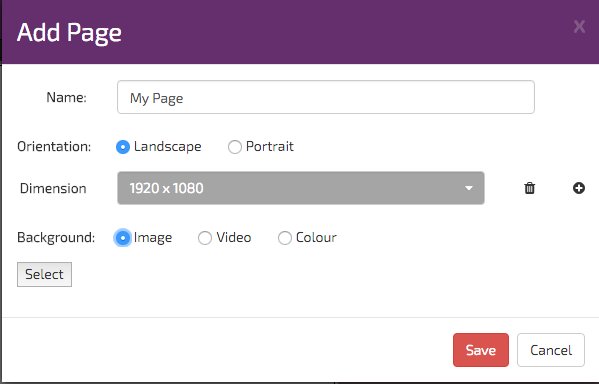
5. Choose the Orientation of your screen. Landscape or Portrait.
6. Select the dimension (resolution) of your screen. Most modern screen are HD and have a resolution of 1920 x 1080 for landscape and 1080 x 1920 for portrait. If your screen resolution is not displayed in the dropdown you can always add your own. To do this click on the + button to the right of the dimension box.

Enter the Width and Height page dimensions and click Add. You new page will then appear in you list for future use.
7. Select a background. Backgrounds can be an image or video, selected from the media store. Tp add an image or video, first click the button next to the words image or video and then click the select button. A window will open displaying the media that you have added to the Media Store. Choose the background and the window will close. The image or video is then added as a background for your page.
Should you wish to choose a colour, this can be chosen from the colour picker. Choose using the slider and clicking in the colour area to select. Alternatively if you know the exact colour code you can manually type this in the colour picker box. For example you can manually enter #00000 for black.
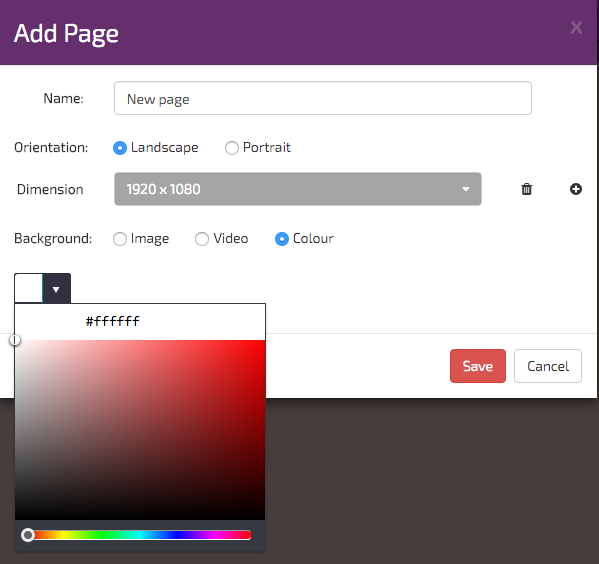
Once complete, click the Save button and the blank page with your chosen background will be displayed
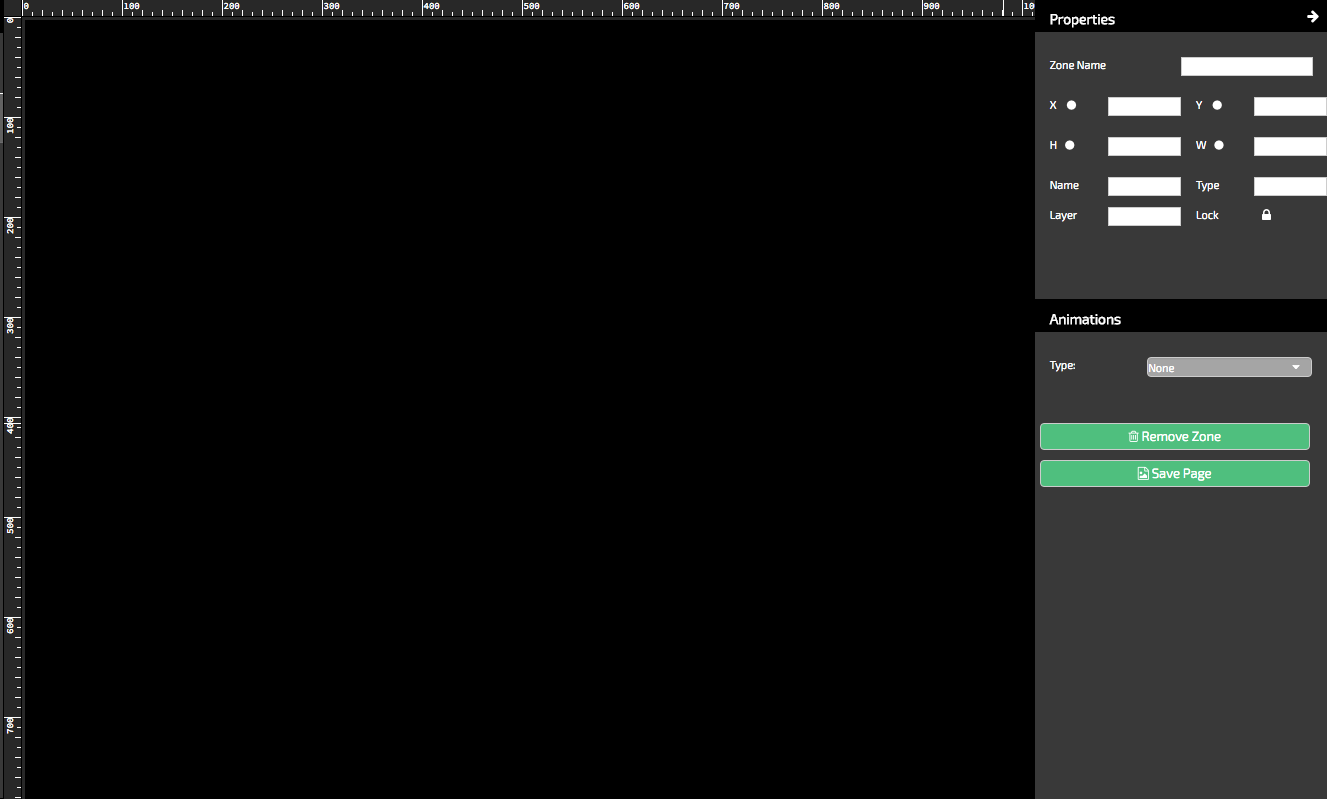
Now lets add some Zones
8. Adding a zone asset to you page is simple. Choose from the list of assets and drag the asset onto your page canvas.

Please note; Ensure that you add the Channel Content asset to page first. This is where any content that you choose to play in a Channel will play in this zone
9. Dragging an Asset onto the canvas will require some additional actions to be performed. The action will depend on the Asset selected.
Image- user will be asked to select an image from the media store
Video- user will be asked to select a video from the media store
HTML- user can use iframe HTML code in a Page. More information here
Channel Content-This is the main window where all media set in a Playlist will display. This zone is compulsory and cannot be omitted.
Playlist- users can add a secondary window to the page. This allows a secondary playlist of content to play alongside the Channel content Window.
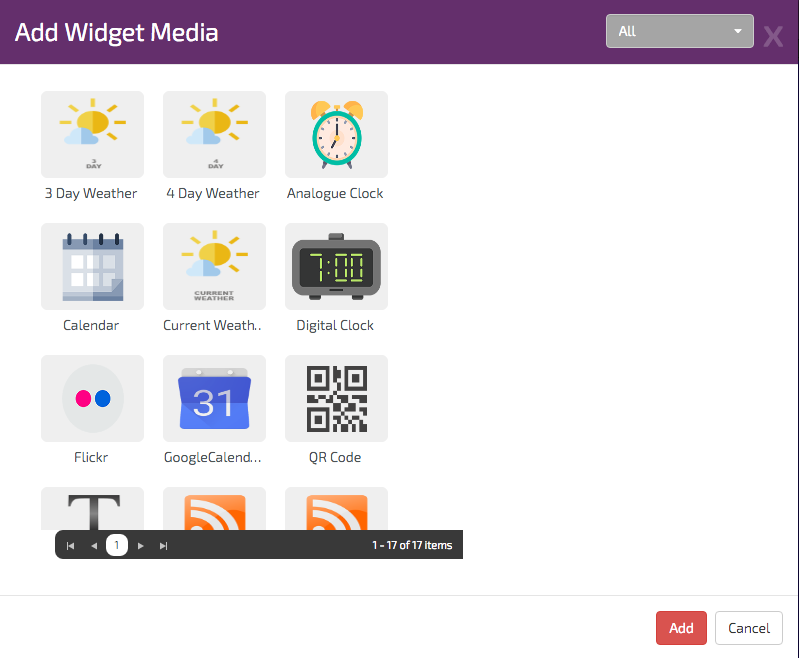
Widget- user will have the option to choose from a range of widgets, for example, RSS feed, weather, and YouTube. Please note our Twitter Widgets have been discontinued. Find out more here
Additional configuration of a widget is required to customise the widget to the users design preferences. In example below a 3-day weather widget is selected and a parameter associated with the widget appears on the right.
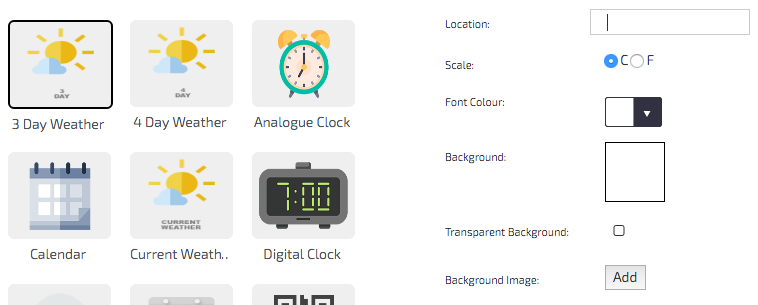
Complete the configuration and then click Add. The configured widget is added to your page.
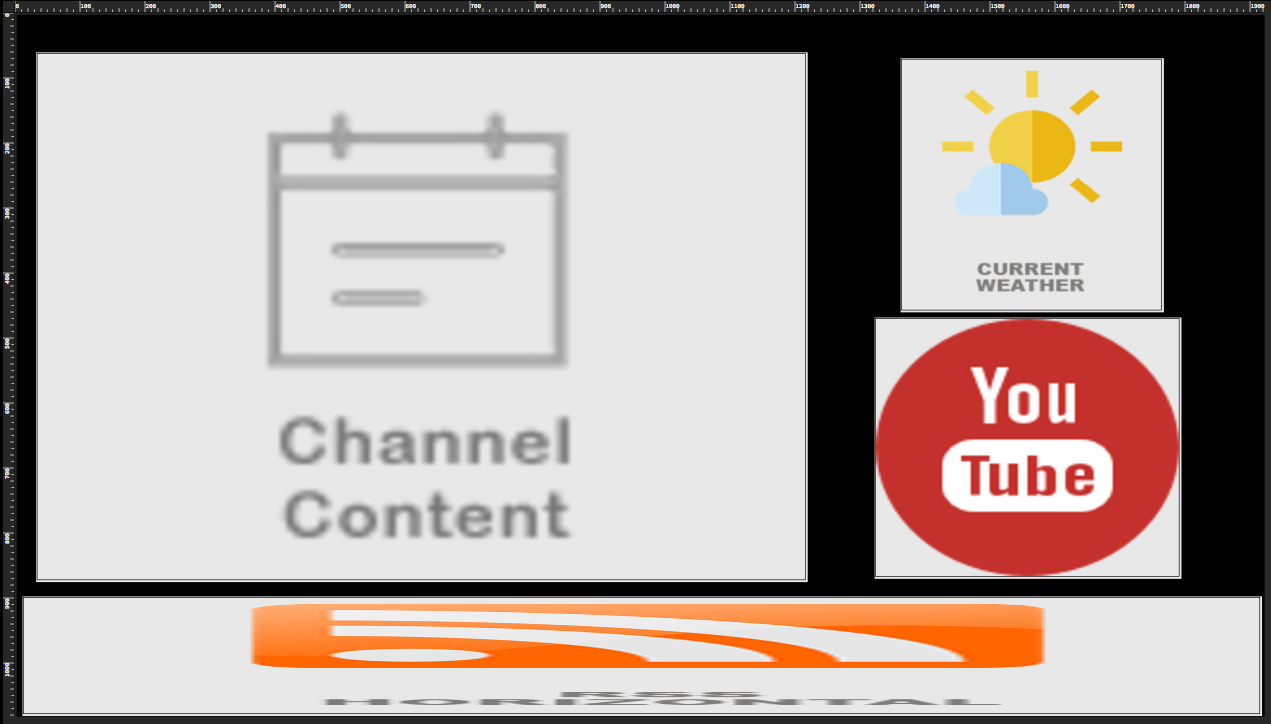
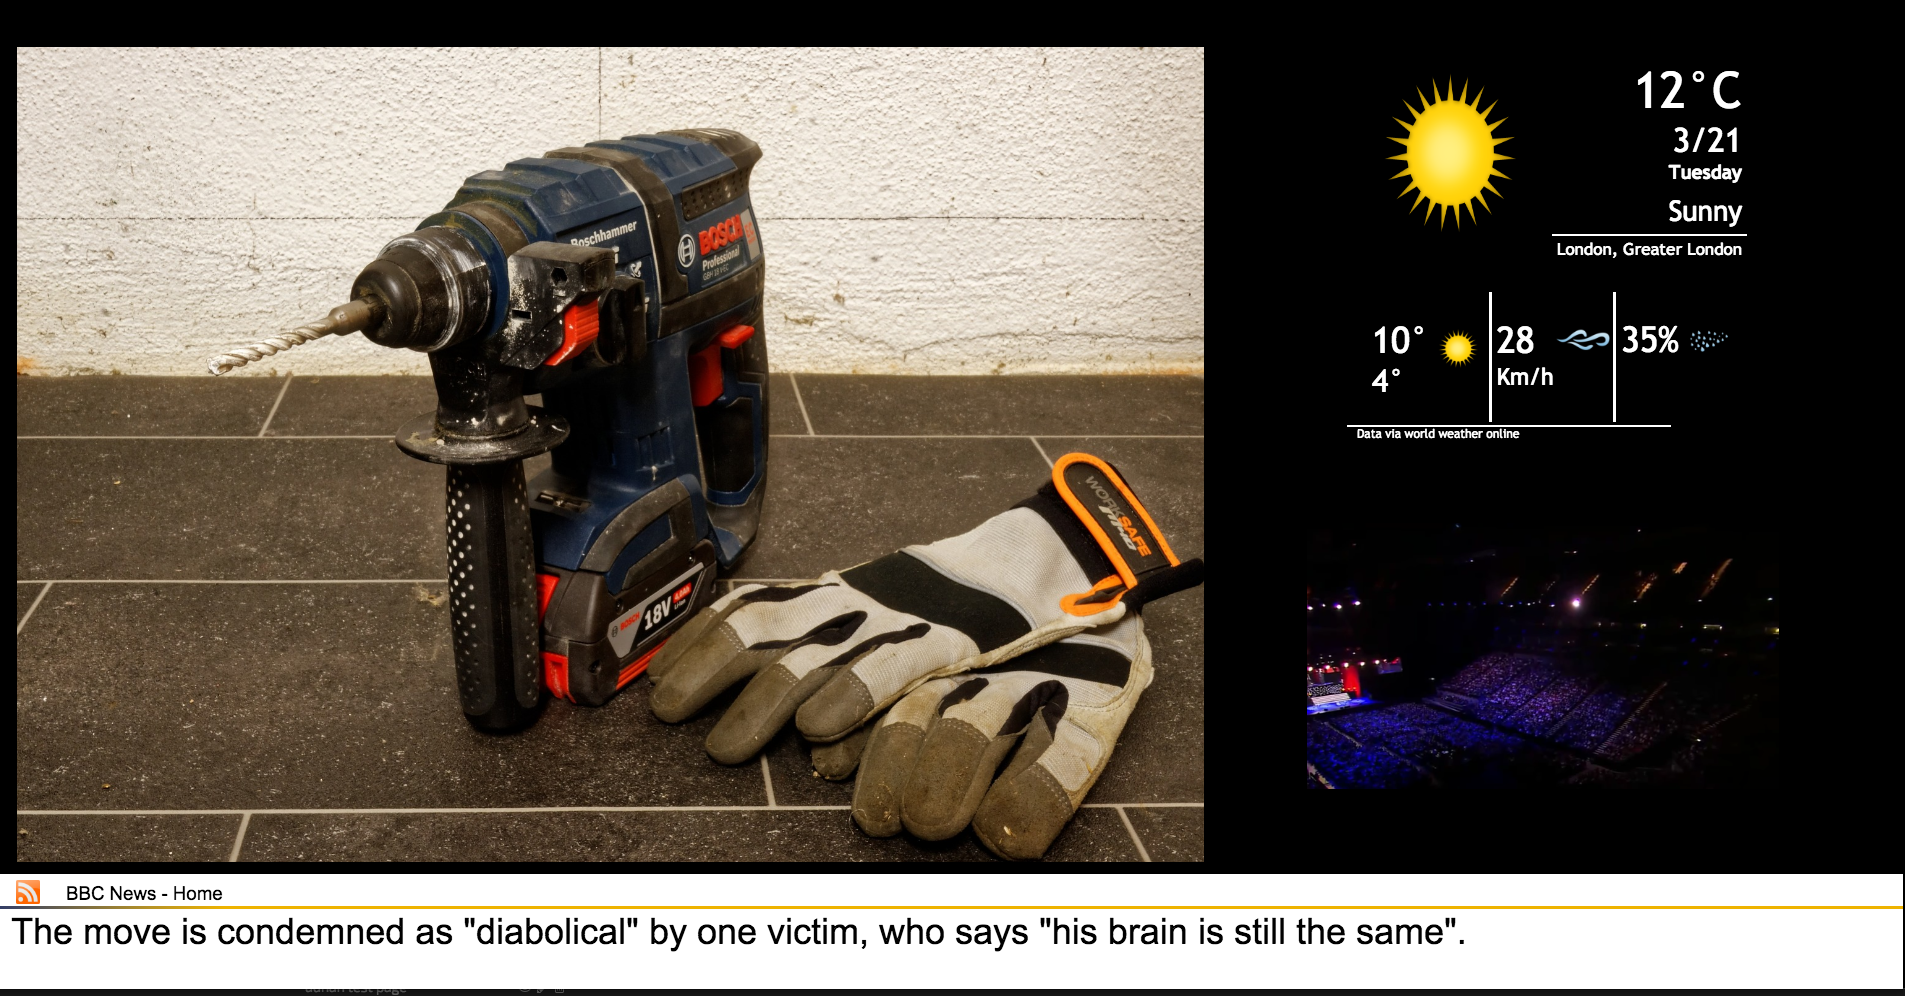
Continue to build up your page until you are satisfied. See example below
Once completed click the  button
Previewing your page- your newly created page can be previewed allowing you to see a representation of what the actual page will look like once it is shown on your display.
To preview your page, first select you page in the list of pages and collections
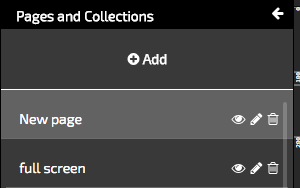
10. Once selected click on the eye icon ![]()
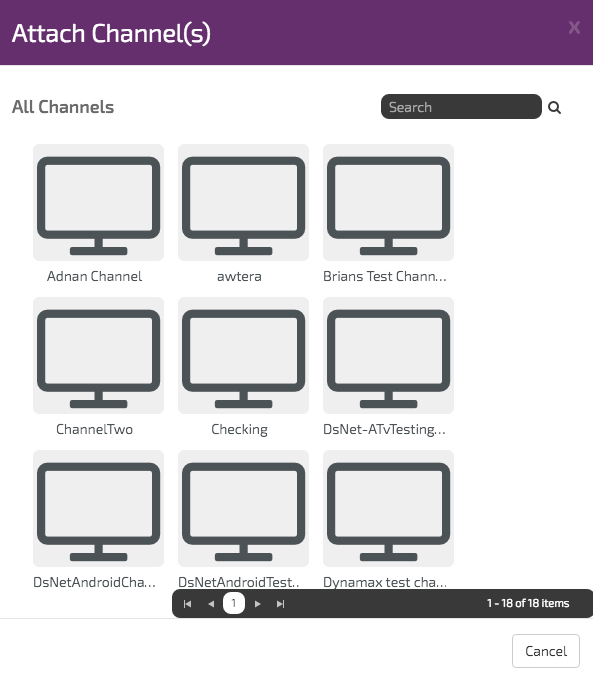
You will be asked to "Attach a Channel (s) for the purpose of previewing only. Select a Channel
Once you have selected a Channel the preview will open. An Example page is below.
Your page is now ready to be assigned to a Channel. Information on how to do this can be found here